Last updated on November 02, 2025
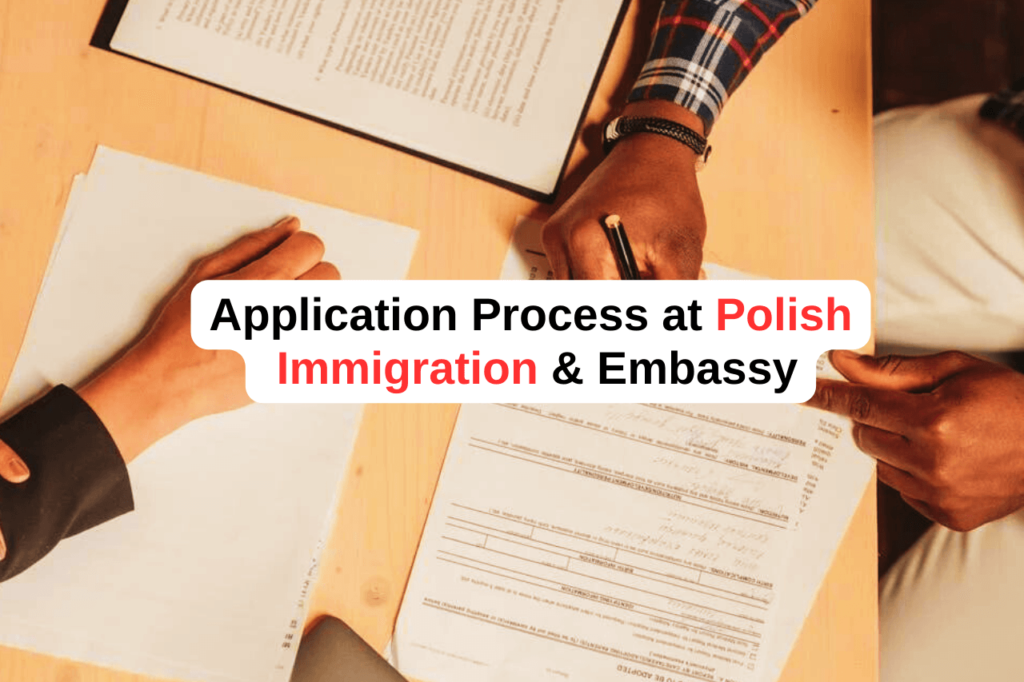
Application Process at Polish Immigration & Embassy
Application process at Polish Immigration is simple and requires some steps that you have to follow during the application process. By following these steps, you will complete your application process from start to finish smoothly due to the fact that Polish immigration takes longer to process your application, and you have to wait longer sometimes. So it is best to go through the proper procedure and do extra care of your application process, which we are going to discuss with you in a simple way, and enable you to submit your application by yourself.
Step 1: Understand the timeline
Whenever you want to apply for a residence permit, you have to do so before the expiration of your current residence permit, even on the last day of your application. However, the best practice is to apply early, when your current residence card has 90 days or 3 months of validity. The reason is the large number of applications, especially after the arrival of Ukrainian citizens. Most of the immigration offices are busy dealing with their cases, especially Warsaw immigration. When you submit your application 3 months before the expiration of your residence permit, you will get a notification or response from the immigration office regarding your case somewhere around 2 or 3 months. This means you will be able to get the appointment not very late after the expiration of your current residence permit.
Author note for you
If you are applying from abroad as a student, visitor, work permit, or any other kind of permit, then the above timeline is not related to you.
Steps 2: Create a login at InPOL & MOS
In order to start your application process, you have to create your login at both InPOL and MOS, a new system that will come into work in June 2024. So you have to create your login on both platforms by using your email, and then select the application that fits you appropriately, e.g., temporary residence permit, permanent residency permit, etc.
Fill out the application, then download it and print it because you will take it to the immigration office on the appointment day. You can search for appointment dates through these platforms. Learn more about the appointment process.
Author Suggestion for you
If you apply from an embassy in your country, you do not create your login at inPOL or MOS. Instead of that, create a login at E-Consulate.
Step 3: Pay the Application Fee
Pay the application fee according to your residence permit application. The application may vary from case to case; e.g., for TRCs, it is 340 or 440, and for PR, it is 640 PLN. You can directly submit from your account to the immigration account and print out the online receipt that you submitted with your application.
If someone applies from abroad, then they have to submit a fee according to their country’s embassy requirements either through bank or payment at embassy counter etc.
Step 4: Purchase Insurance for Immigration
You have to purchase your insurance for immigration, but if you are working for the company or somewhere where you already have insurance, then you don’t need to buy separate insurance. If you don’t have any insurance, then you have to purchase the insurance for yourself, which you have to submit at the immigration office.
Author note for you
You can purchase insurance online from the companies that we already suggested in our other blog because, without valid insurance, you would get a visa either inside Poland or if you applied through the embassy. Find more about Travel insurance for foreigners in Poland
Step 5: Prepare a Complete File
Complete the file with all required documents, both standard and supporting.
Standard documents include:
a). 2 complete application forms.
b). 4 passport-size pictures with a white background.
c). 2 copies of all the pages of your passport, which are your official travel documents.
d). Travel insurance.
e). Your residence permit photocopy, etc.
f). House contract where you live in Poland.
g). Receipt of your application fee payment.
Author Note for you
when we talk about supporting documents with you then you have to understand that supporting documents are those documents that relate to the permit, e.g., if you have a work permit, you should attach your work contract and other documents from ZUS, tax offices, etc. The same applies to other applicants. So supporting documents vary from individual case to case in status.
Step 5: Submit Your File
Submit your application on the day of the appointment that you get at inPOL and MOS, which is already discussed in step 1, which you can read in detail here in the appointment process in Poland.
Take two application files, and each of the files has all the documents that we mentioned in step 4. With copies, you have to take the original document for inspection.
When you submit your file at the immigration office on the appointment day, the immigration officers will cross-check all of your documents and maybe take an additional signature on them. At the same time, they will take your fingerprint and stamp your passport. If the officer asks whether you want to have a stamp on your passport, you have to say yes because it is important and beneficial for you to show the police when needed.
If someone applies from their country or outside of Poland, then they should submit at the Polish Embassy in their country through an appointment or a direct visit to the embassy. It depends on the country, so some countries, like Poland, allow you to directly visit the immigration office and submit your file. In other countries, you have to make an appointment online through their e-konsulat.
At the end, the immigration officer will give you a letter where you will see all the information related to your case and the decision date, which will probably be 3 months or less.
Step 6: Wait for Immigration Response
In some cases, the immigration office will call for an interview, e.g., for a spouse visa, a relationship visa, etc. If you have applied for a work permit, you will probably not get a call for an interview unless the immigration office asks the local police to check that you are living in the place that you provided in your application.
This police visit is included in the standard process for every kind of applicant, e.g., temporary residence card or permanent residence card applicant, etc.
In case the immigration office sends you a letter to ask for any additional documents, submit it without delay.
Author KeyNote for you
In case you apply through the embassy, they will respond to you via email or phone if any documents are needed or if there is a call for an interview, which is needed in most cases for a visit visa, study visa, spouse visa, etc.
Step 7: Get Your Decision
After all the above steps, the next step is to receive your decision for your application. If your decision is positive, you will get SMS messages where they will tell you about the date on which you will collect your residency card. If you don’t get an SMS, you will get a decision by post, which may be negative if you do not receive an SMS. However, this is not always the same; sometimes you get a late response from the immigration office. So be patient and check your mailbox regularly.
Author Suggestion for you
You can also write an email to the immigration office or directly call the immigration office and ask about your case by giving your case number, which you can find on your decision letter.
If you apply through embassy, then you will probably get your decision via email, phone call, etc.
Step 8: Collect the Card or Visa
This is the final step, where you have to visit the immigration office on the day that you have in the SMS and collect your card by giving them the receipt for the card fee, which is 50 PLN. You can pay either in advance from your account or by bank payment or at the machine installed at the immigration office. Don’t simply go without paying the card fee because they will take this receipt from you, and in return, they will give you your new residence card.
Applications from abroad or applying through the Polish embassy will get stickers on their passports by visiting the embassy.
What if you have a negative decision?
If you have a negative decision, then you have to file an appeal within 14 days after you receive your decision.
Author Suggestion for You
For your comfort, we have written a complete blog for you regarding the appeal process, where you can find everything and also get benefits from our expert advice. Learn more about the appeals process in Poland.
Other helpful posts to Read
Spouse visa for non-EU foreigners
EU long-term residency in Poland
Register your company in Poland
Driving license making and conversion process in Poland
5 affordable insurance for poland visa and immigration
Disclaimer: This blog is for informational purposes only. The process we explain here is a standard process that is based on your knowledge and understanding, which means it may not be error-free. So we suggest you visit the official source for absolute information.
If you have any questions in mind, you are welcome to leave a comment below, and we will respond to you as soon as possible.
Help a fellow expat! Share this with friends or colleagues who might find it useful.


